-
Managing Reservations
-
- How to view reservations on a date in the Reservation Manager?
- How to view a reservation on a particular date for a product (room type)?
- How to manage the reservations listed on the right side of the screen?
- How to create a new reservation in OnRes system?
- How to modify a reservation?
- What more can you do on the date grid?
-
- What's new in the Reservation Manager?
- How to switch between the Enhanced View and Classic View of the Reservation Manager?
- How to use the Filter function in the Enhanced View of the Reservation Manager?
- How to use the Smart Search function in Enhanced View of Reservation Manager?
- How to see reservations of a selected date in the enhanced reservation view?
-
-
Managing Inventory
-
Managing Products & Packages
-
Managing Rates and Restrictions
-
Promotions and Discount Codes
-
- How does promotion work in the OnRes system?
- How to setup a promotion?
- What happens when two promotions overlap on the same dates?
- How to exclude promotions on certain dates?
- How to apply a promotion in the Reservation Details window?
- How to show availed promotions in the guest confirmation emails?
- How to create a "Free night stay on a reservation" or "3rd Night Free" kind of promotion?
-
-
Managing Housekeeping
-
Managing Channels
-
Analytics & Reports
-
Settings
-
Managing Interfaces
-
Guest Emails
-
Check-in/Out & Room Assignments
-
Managing Add-ons
-
Setup OnRes 2.0 Booking Process
-
Setup Policies
-
Export Availability
-
Payment Gateway
-
Multiple Room Type Booking
-
- The Reservation IDs
- How to find / sort a Master Reservation?
- How to view / edit a Master Reservation?
- How to create a Master Reservation?
- How to add/split a Child Reservation to/from an existing Master Reservation?
- How to cancel/reactivate a Master or Child Reservation?
- How to merge existing single reservations into a Master Reservation?
-
Contact Manager
-
Contactless And Upselling
-
Financial System
-
- How to open / create a folio?
- How to post charges to a folio?
- How to make payment?
- How to void a posting?
- How to transfer a posting to another folio?
- How to setup Billing Instructions for automatic transfers?
- Receipts
- How to Check-out a Reservation if it has Folios with Zero Balance?
- How to associate a credit card with a folio?
- How to bill a reservation to an Accounts Receivable (A/R) account?
-
Group Reservation
-
Room Auto Quarantine
-
Troubleshooting
How does contactless check-in work?
As shown in the following diagram, the Contactless check-in process includes the following steps:
- Pre-Check-in
- Room Assignment
- Check-in

Pre-Check-in
In the early morning of the check-in date, the system sends an Pre-Check-in email to the guest. The guest clicks the link in the email and logs into the system, where the guest is provided by the following upselling options (if availability allows) while confirming the pre-check-in status:
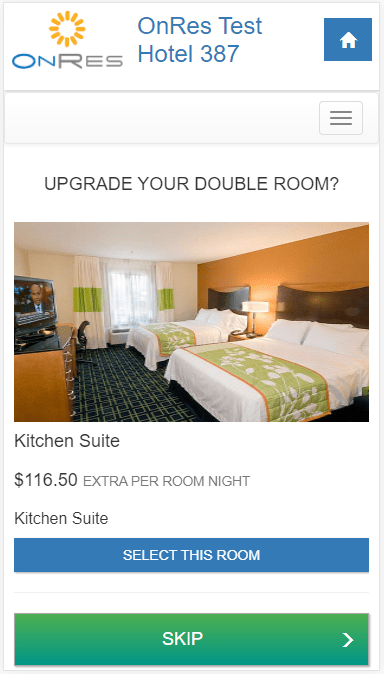
1. Room upgrade
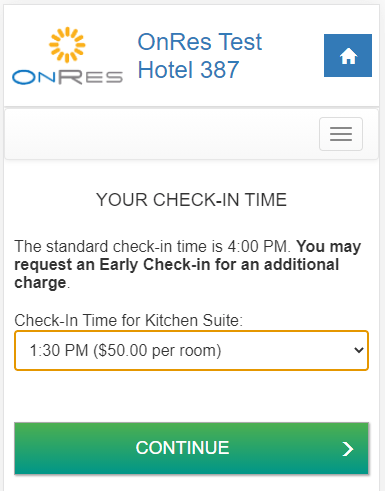
2. Early Check-in options
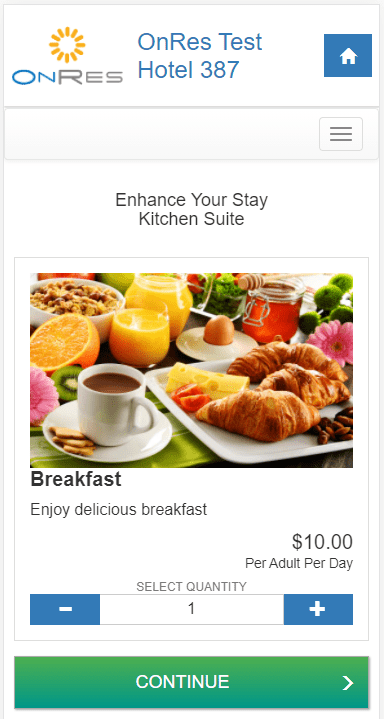
3. Add-on items
The guest has the option to choose their preferred check-in time (including the Early Check-in times) at a 30 minutes interval. The property also has an option to limit the number of check-in’s per time slot. If enabled, the guest will not be able to choose a time slot if it’s already full (see “How to setup guest check-in” section below for details).
When guest completes the Pre-Checked-in status, the system emails a confirmation to the guest and a notification to the property.
Room Assignment
Upon receiving the Pre-Checked-in notification, the property can either manually assign a room or let the system automatically assign a room to the reservation.
For automatically assignment, the system checks the availability of the room and its housekeeping status every 15 minutes. If the guest has requested Early Check-in, the system will assign a room as soon as there is a clean room available, and notify the guest via SMS text messages. Otherwise, the system will make the room assignment at the designated check-in time. If for any reason, the system is not able to assign a room by the designated check-in time, the system will notify the guest to contact the property directly or check-in in person.
Check-in
At the designated time of check-in, the system sends an email and a SMS text message to the guest to notify it’s time to check-in. The guest then logs into the system from their mobile device, where the guest views the assigned the room number, and fills and signs the digital Registration Card. Once completed, the guest is confirmed to have checked in, then the guest can pick up their room key from the front desk.